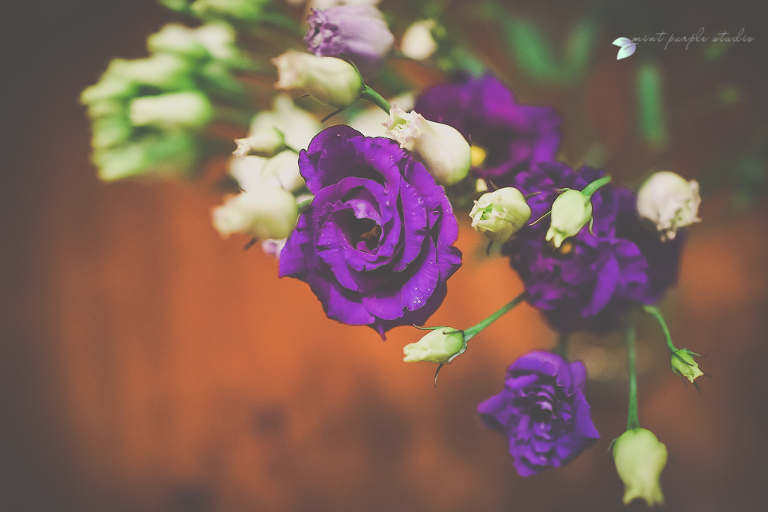
Every great dream begins with a dreamer. Always remember, you have within you the strength, the patience, and the passion to reach for the stars to change the world. ~Harriet Tubman


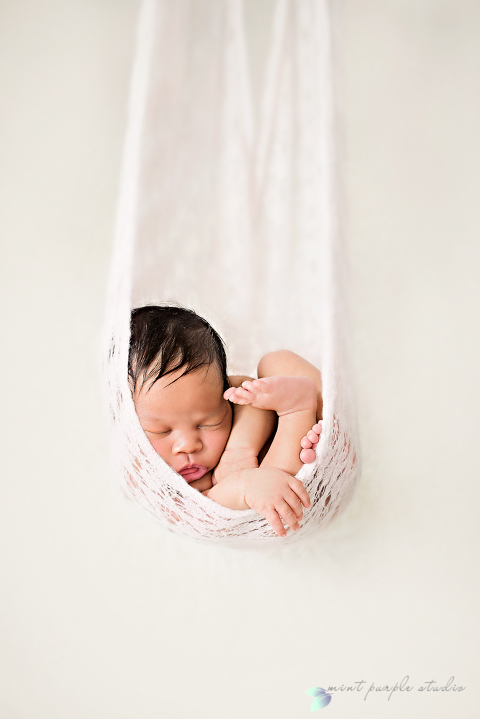
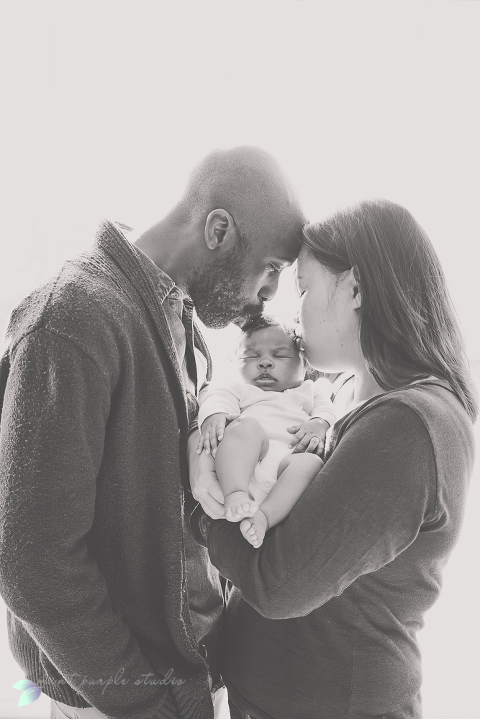
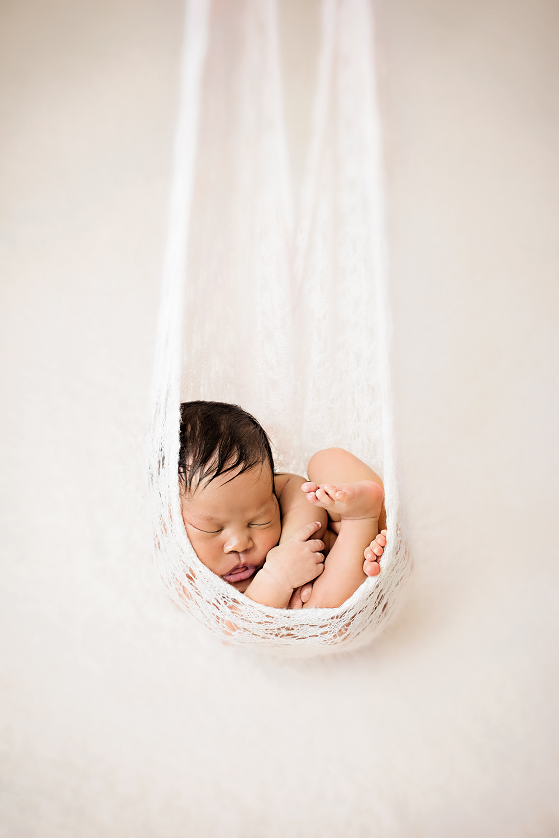
It’s true when they say that a photographer’s favorite photo is always the next photo they take. Lady N’s images and shoot is my favorite one to date because I couldn’t have been blessed with a sweeter, happier, sleepier and cuter baby! Lady N was my dream baby. We started the session easing into some comfy loosely swaddled shots on a dreamy soft blanket. Fast asleep, Lady N literally melted in my arms and in some images she even posed herself. I’d say we have a natural model here! The session flowed smoothly, Lady N was super relaxed, we had soothing white noise in the background – mommy and daddy described the experience as going to a baby spa. When my parents and baby are happy, that is a successful session! I’m always so humbled when parents trust me to photograph their newborn at just a few days old. Welcome to our little world Lady N!
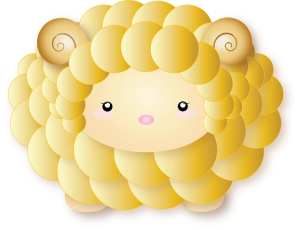
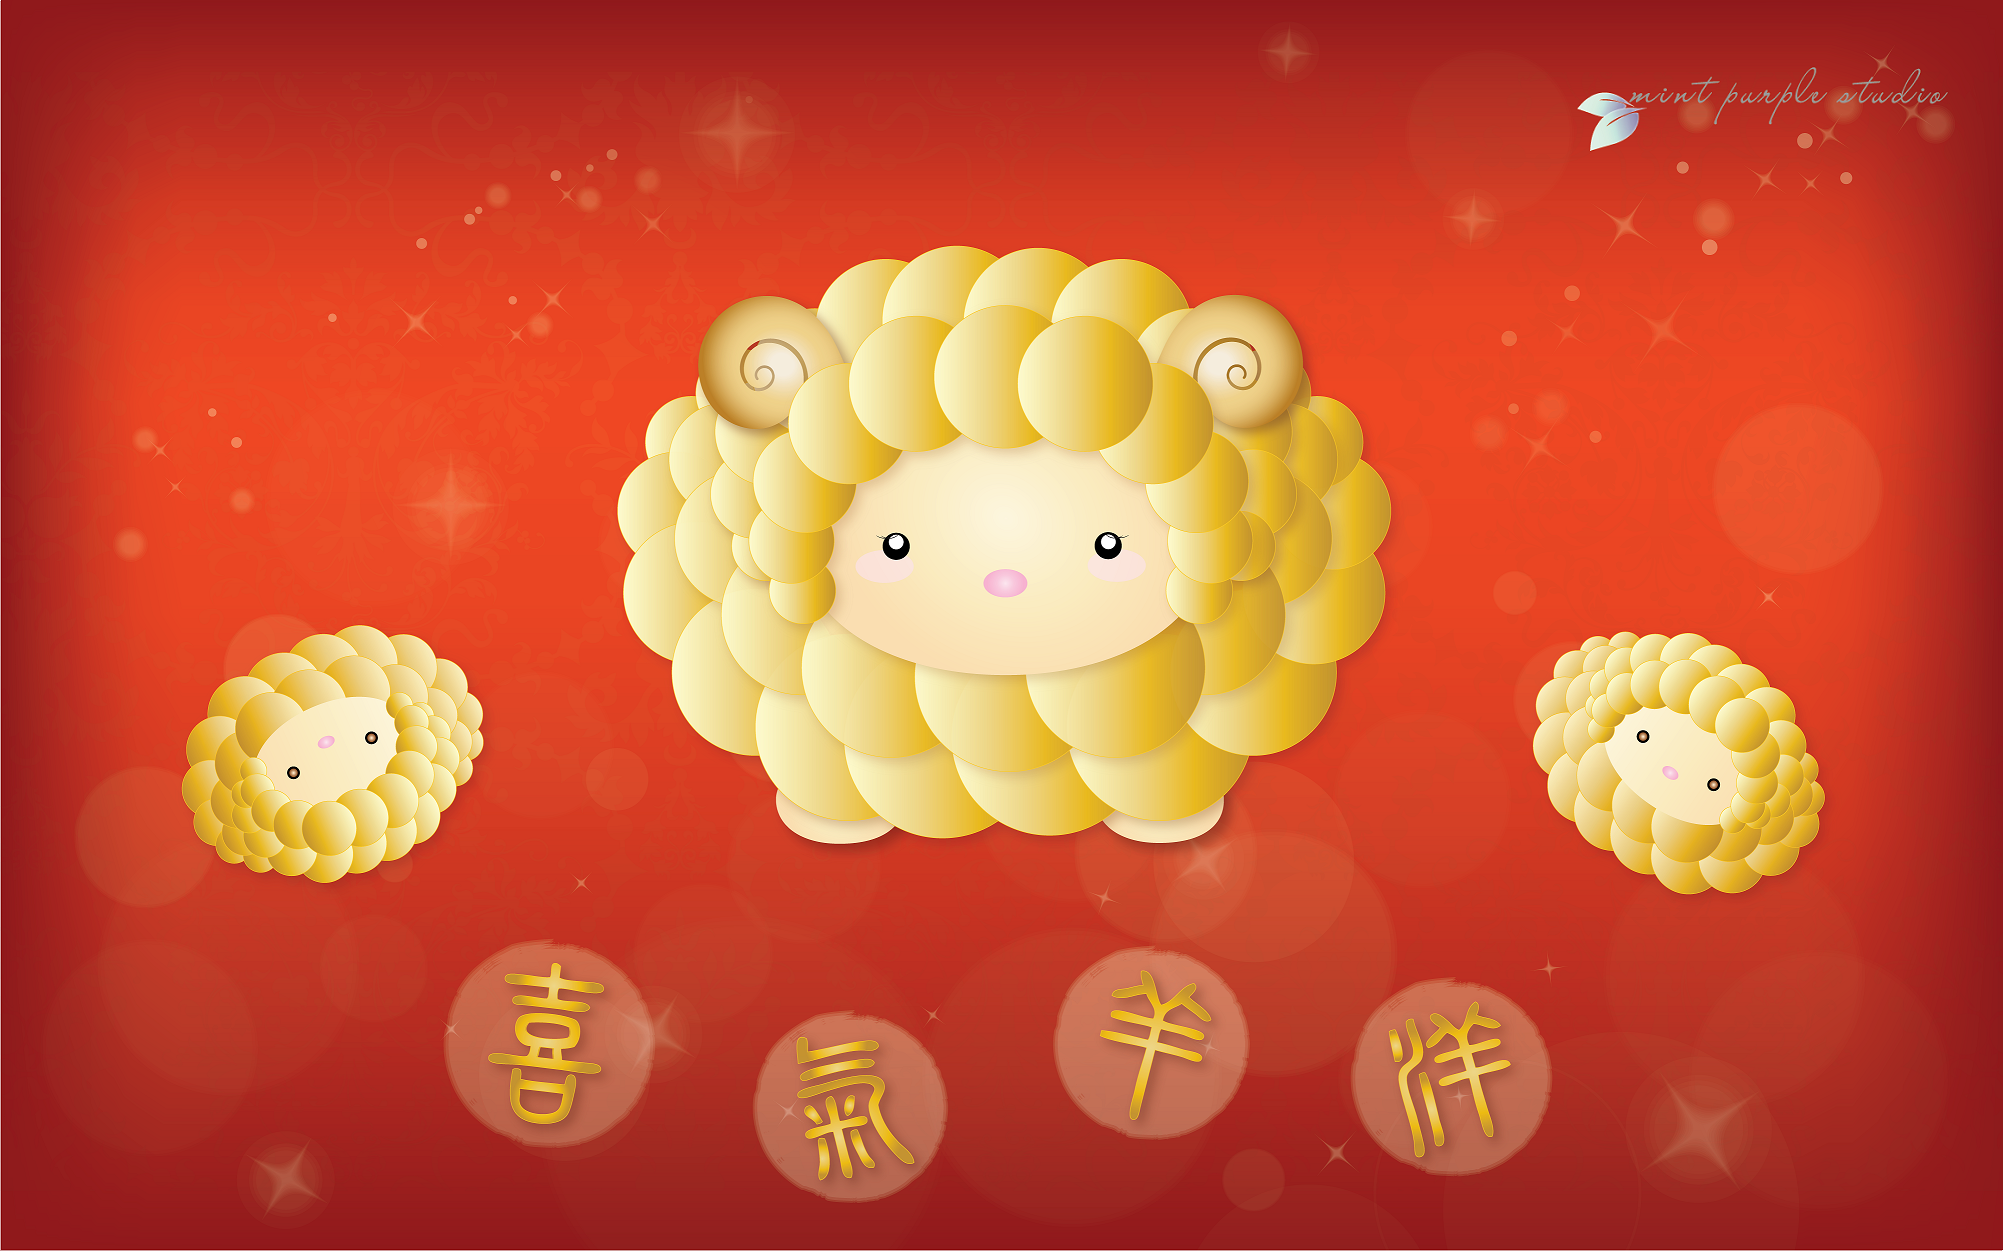
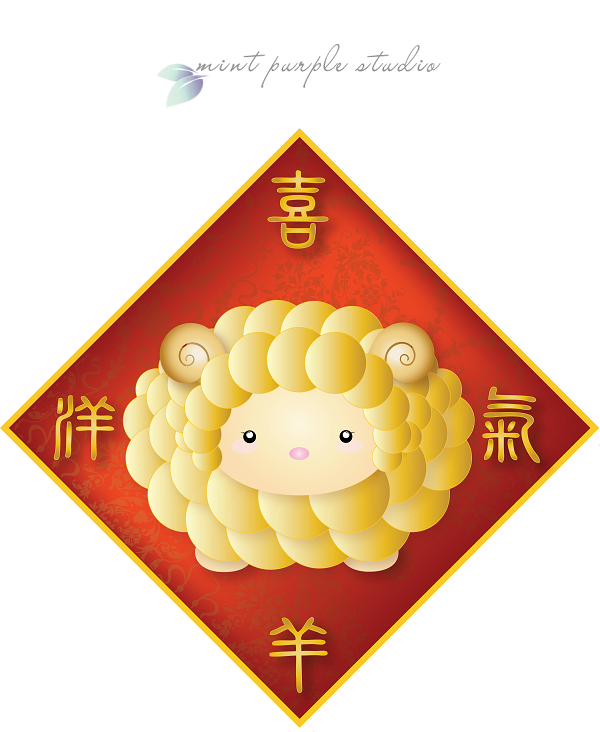
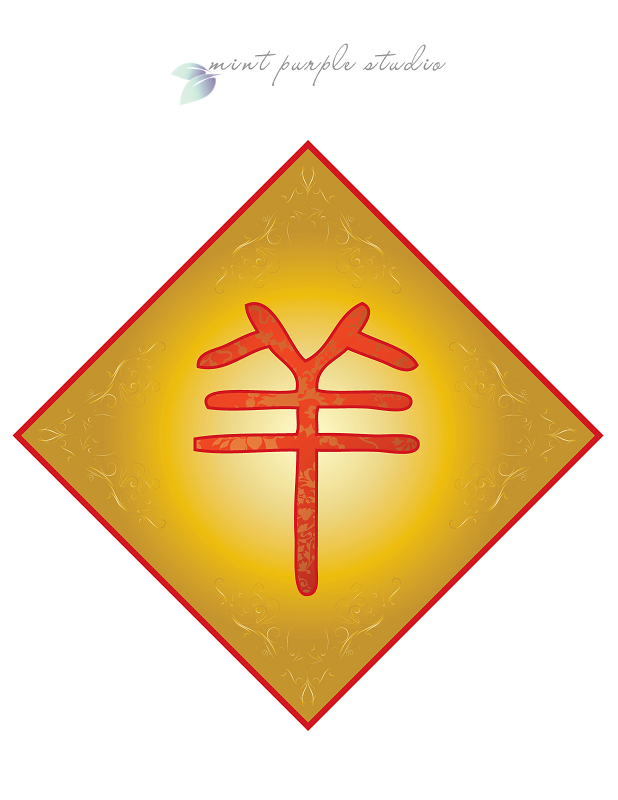
To celebrate the upcoming Lunar New Year of the Sheep, a new character debuts! The inspiration for Rolly Bubble Sheep came one day as my son insisted that I blow bubbles for him to pop. I was taking a break from photographing babies but itching to create something. Lunar New Year of the Sheep was coming up and suddenly an image of a sheep shaped like a bubble floated into my head. The idea solidified that same evening while I watched my son play with a gigantic stuffed sheep doll. And Rolly Bubble Sheep was born 🙂
Rolly Bubble Sheep has super fluffy wool that can be blown into bubbles around his body. He loves to roll around with the help of his bubble wool but often gets stuck in crevices. When that happens, Rolly Bubble Sheep will pop some of his wool bubbles to get out and then blow some more to cover the missing bubbles. He’s super active but quiet. If you are not paying close attention, Rolly Bubble Sheep might roll past you without you even knowing!
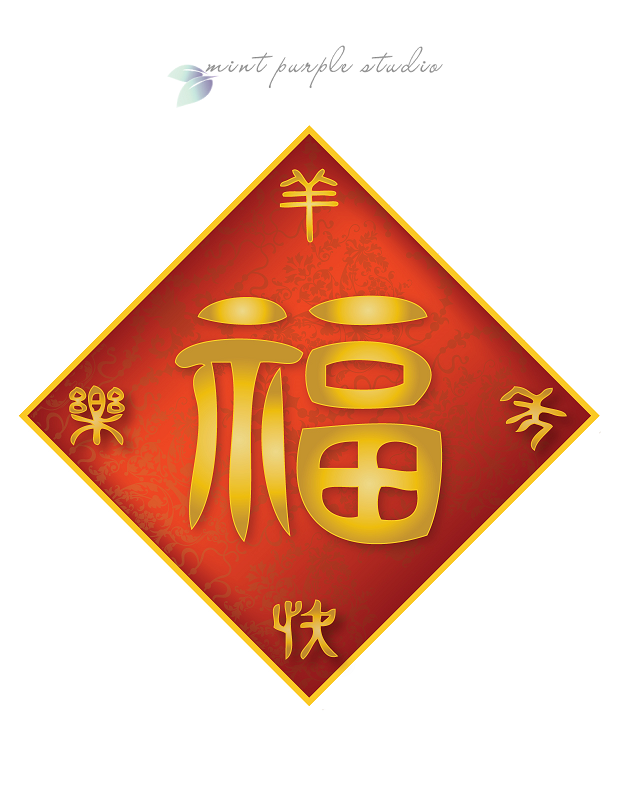
As the Studio’s auspicious Lunar New Year’s gift, please feel free to download/print/share the below New Year wallpaper and banners to decorate your home or office!
DOWNLOAD WALLPAPER HERE
DOWNLOAD HERE
DOWNLOAD HERE
DOWNLOAD HERE
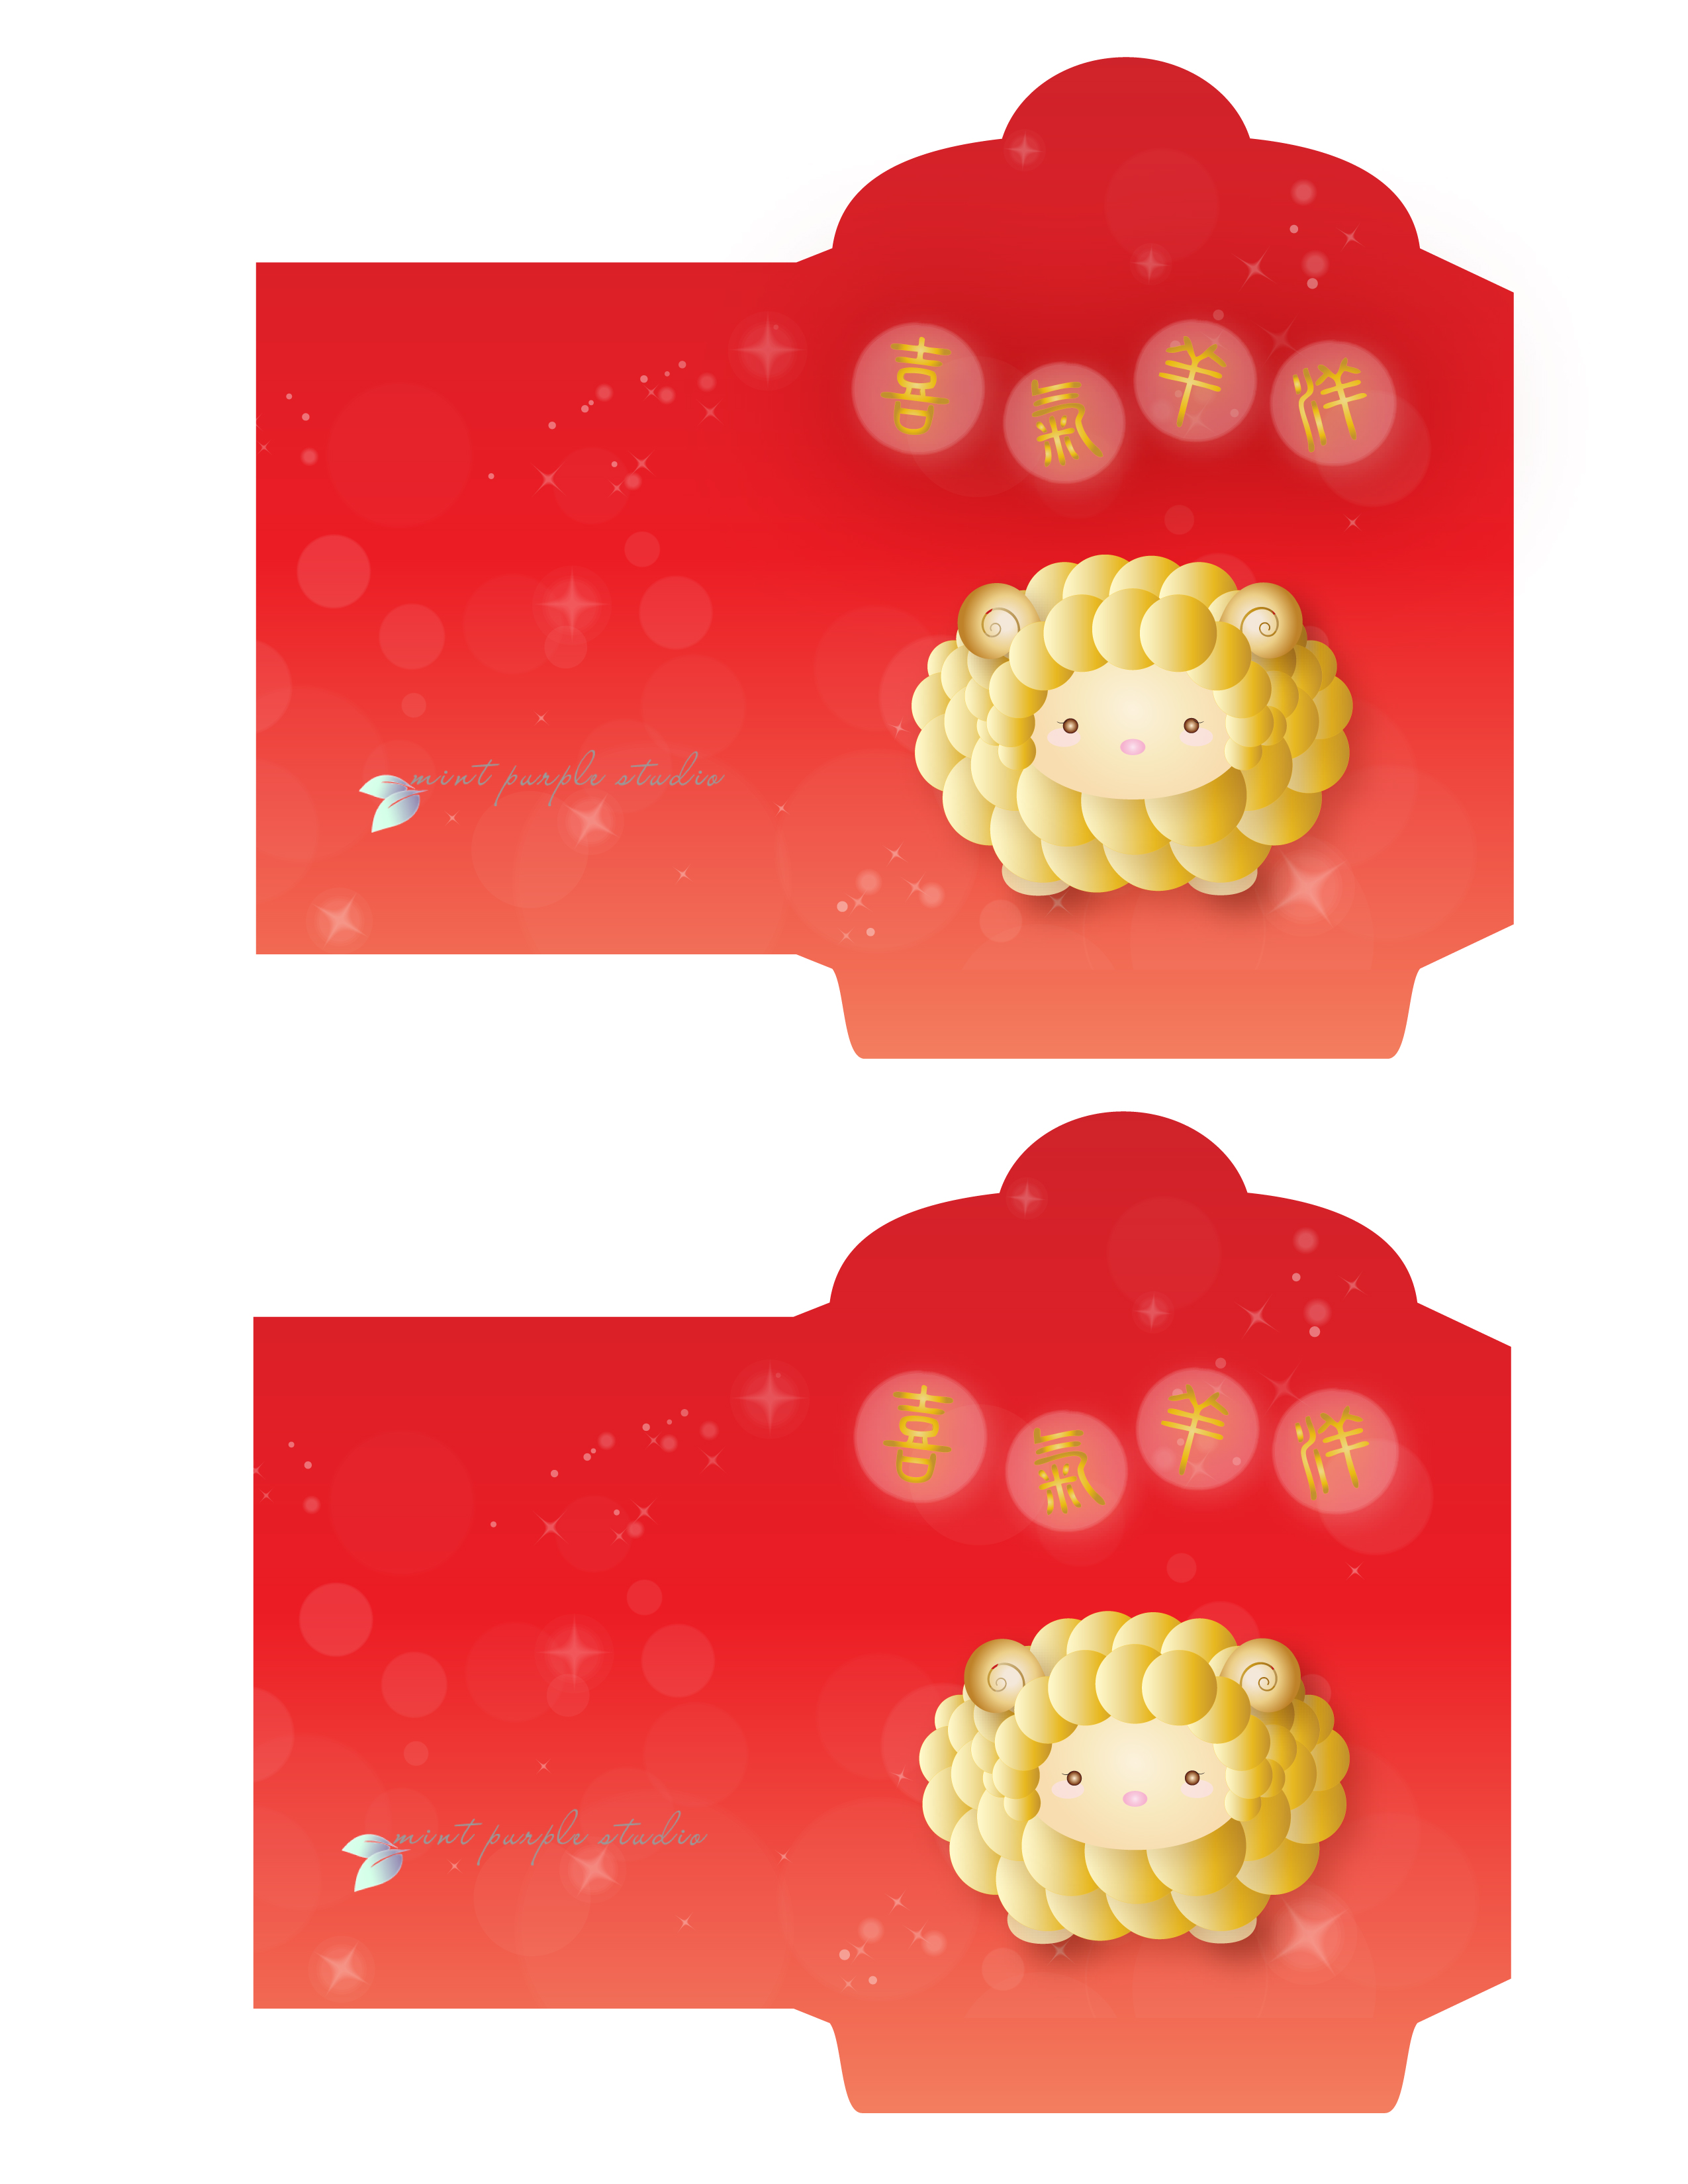
DOWNLOAD RED ENVELOPE TEMPLATE HERE
If you are printing the red envelope template, remember to select “shrink to fit page” in your printer window. Enjoy and have fun DIYing!
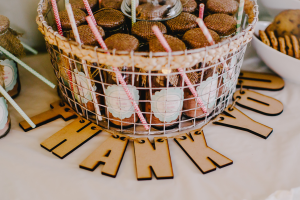
As part of my baby’s shabby chic party theme, I created a photo banner using photos which I recycled into thank you cards that my guests loved. This is a great DIY idea if you are looking for an environmental way to decorate. It’s also a great way to save your party’s deco because you can scrapbook parts of your photo banner if you have extra photos after turning them into Thank You cards.
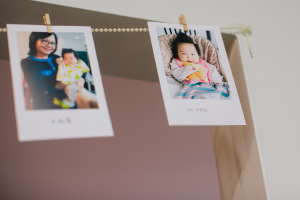
To create my photo banner, I spliced an 8.5×11 sized document in Illustrator and used four clipping masks to evenly clip photos placed in the document (two on the top and two on the bottom with the document in portrait position). I printed about fifteen pages for a total of sixty photos and then cut them out. The photos were then clipped onto a string of mini faux pearls (bought from orientaltrading.com) with baby clothespins.
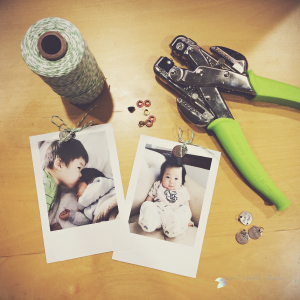
To DIY my thank you cards, here are the steps:
Materials:
- eyelets
- eyelet punch and fixer
- charms
- baker’s twine
- photo
DIY Steps:
- punch a hole using an eyelet punch in your photo where you’d like to hang a charm
- fix the eyelet in the hole using the eyelet fixer
- string a piece of twine through the eyelet
- tie the charm to your photo with a bow
Voila, you’re done! You can easily change the steps and turn the photo into a scrapbook element as well. Be creative and have fun!
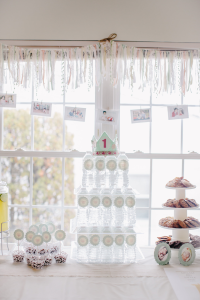
A few months ago, I was browsing Pinterest and came across loads of cute vintage milk bottle photos. As soon as I saw them, I knew I wanted to incorporate them in my daughter’s 1st birthday party. Most of the favors didn’t include the lid so I needed to think of something to fill the bottle with but packaged in a way so that the lids blended in with the party’s shabby chic design theme. I came up with the idea of using hot chocolate because the favor would be given out at the end of the party as a “sweet ending” and it seemed fun for the kids to be drinking hot chocolate on the way home.
As far as packaging, my original design used scalloped tags which would be hung around the lid but the favor ended up looking very top heavy. Therefore, the final design used round, scalloped labels on the bottle’s midrift while a small silver “thank you” charm was tied around burlap with mint green baker’s twine. I really love the final look of the favor and it took me about 5 days to DIY including filling the bottles with hot chocolate, designing, printing and labeling the bottles then tying the charm over the burlap. If you are in need of some shabby chic favor ideas, feel free to try this one! You can easily customize the colors, the label and fabric to match your party design.
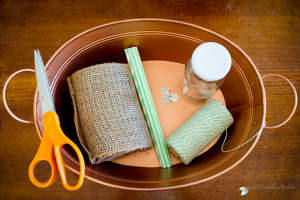
Materials:
- baker’s twine (sole on amazon.com)
- charm (sold on orientaltrading.com)
- burlap roll (sold on orientaltrading.com)
- vintage milk bottles (sold on amazon.com)
- round, scalloped labels (sold on amazon.com)
- your favorite hot chocolate mix or your choice of candy filling
- paper straws
DIY Steps:
- quickly clean the milk bottle, peel off all manufacturer stickers and labels and remove the lid
- using a funnel, fill the milk bottles with hot chocolate about 1/4 of the way (or your choice of filling)
- put the lids back on the bottle
- design, print and adhere the scalloped labels to the milk bottle
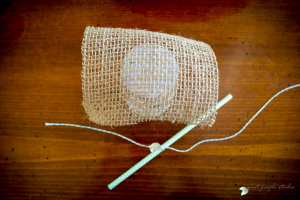
- cut enough square pieces of burlap or fabric of your choice about 4″x4″ to cover the lids of your milk bottles
- cut about 10″ of baker’s twine for each milk bottle you need to tie
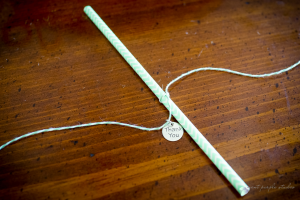
- tie the baker’s twine around a paper straw and string a charm on the twine
- assembly time! place a fabric square over the lid and milk bottle, smooth down the fabric all around the lid with one hand and wrap the twine with straw and charm attached around the fabric with the other hand (this step might take a little time to perfect).
- wrap the twine around twice and then pull taut. it should hold its position pretty well so you don’t have to worry about the fabric flying out of place at this point
- tie a double knot and then a bow and you’re done!
Feel free to drop me a line if you’re having trouble with the DIY process. Enjoy your cute vintage milk bottle party favors!